Need advice? Let's talk.
Get straightforward guidance from your broadcasting partner. Schedule a call to chat with the team about your radio station.
Book DemoWhat is a Radio Studio?
Discover what is a radio studio, find the appropriate space to record in, what equipment you need to broadcast, and how it all fits together.

What is a radio studio? Whether you are here because you want some ideas on how it all works or you are thinking of building your own radio studio then you’re in the right place. The resources below will teach everything you need to know on finding the right space, figuring out what equipment you need, and how it all fits together.
What is a Radio Studio?
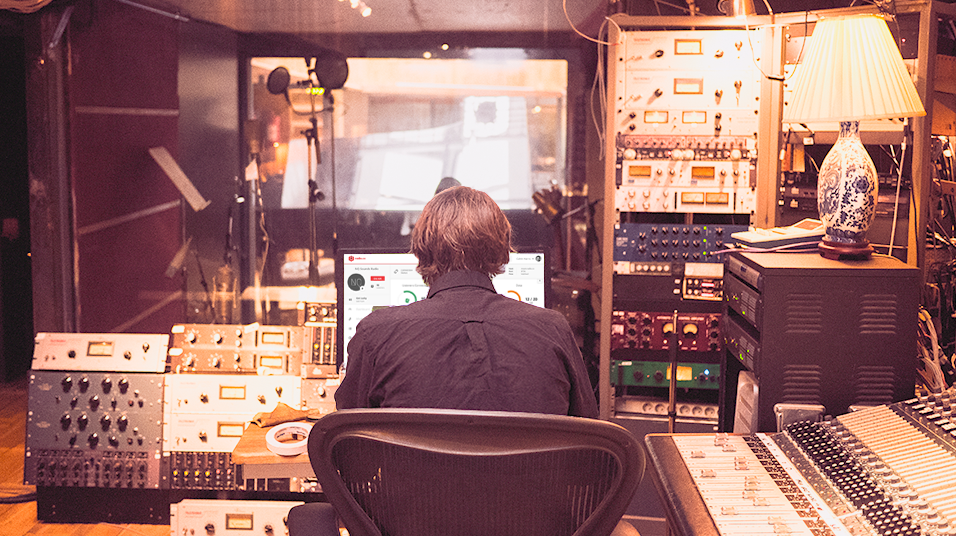
A radio studio is a place to live broadcast or record audio professionally. Often it’s a soundproofed room which gets rid of unwanted noises that would often get mixed into broadcasts. However, studios vary depending on location and use, for example here’s the very talented TM Studios in Dallas recording a jingle for us:
Bigger spaces like this are ideal for vocal songs because of the room’s acoustics. Although most radio studios tend to go with a much more compact space. This way audio doesn’t get mixed in so the microphone just picks up your voice. At the Radio.co offices we set up our own radio studio which you can check out below:
3 Different Types of Radio Studios
Building a radio studio can be challenging. No two studio setups are the same. The good news is there are plenty of existing studios to model yours on. We recommend these 3 different types of radio studios.
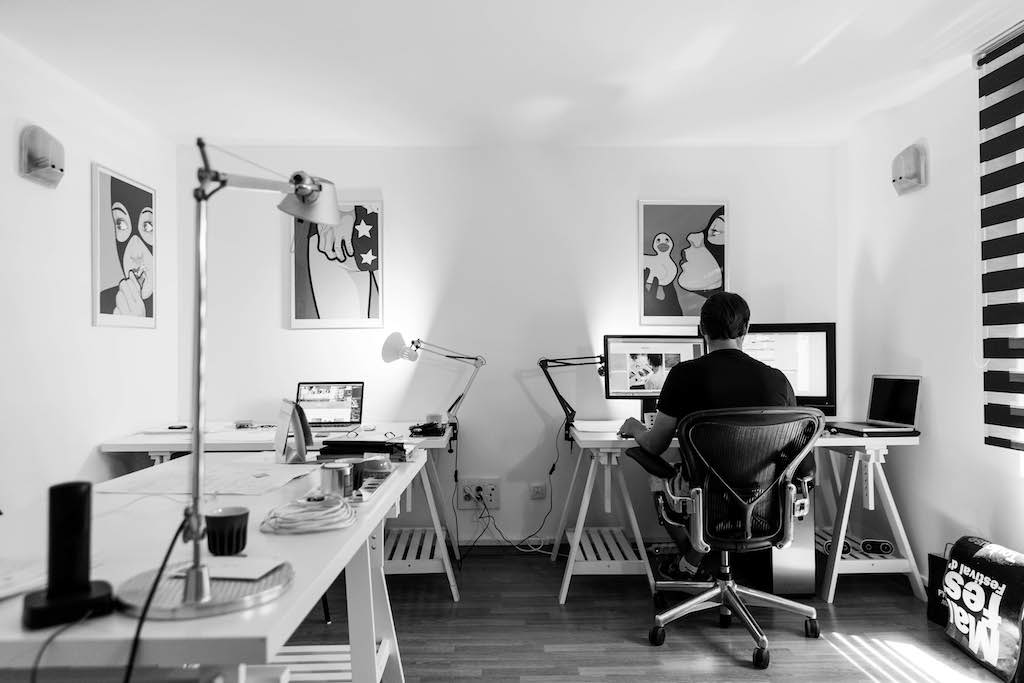
1. Basic Radio Studio
A basic radio studio may not have all the bells and whistles of a professional studio, but it does have everything you need to broadcast online.
Choosing the Best Location
Imagine trying to read a book in a noisy library or talk to a friend in a crowded elevator. It’s not impossible to do, just very difficult. Having your own dedicated space gives you a major sense of creative freedom. Broadcast your shows without noisy distractions. Organise your studio the way you want it. Best of all, be at home in your own radio studio.
Now when it comes to actually choosing a space you often hear bigger is better. That’s not always true. Large rooms with high ceilings tend to echo audio. You either need to absorb that sound or find a smaller room.
You might not have much of a choice if you’re broadcasting from home. In which case choose the best spot that has minimal noise.
Minimising Noise
It’s easy to forget just how noisy everyday life can be. Car doors slamming outside, loud next door neighbours, or even a rainy afternoon. All could potentially get picked up on your broadcasts or recordings.
When finding the right spot pay attention to which rooms are the best at minimising noise, for example, a basement is ideal. It has small windows and underground, so it’s out of the way from most everyday sounds.
Improving Acoustics
Ideally, the room you choose is acoustically perfect, which means when you talk or clap there are no echoes. If that’s not the case then try laying down carpets or hanging up dense blankets. These should minimise reverberations, that way you don’t get distorted background noise on your broadcasts.
Try a few other techniques. Remove hard surfaces like a large coffee table which can bounce sound waves. Add furniture and decor to reduce those sound waves like couches and bookshelves.
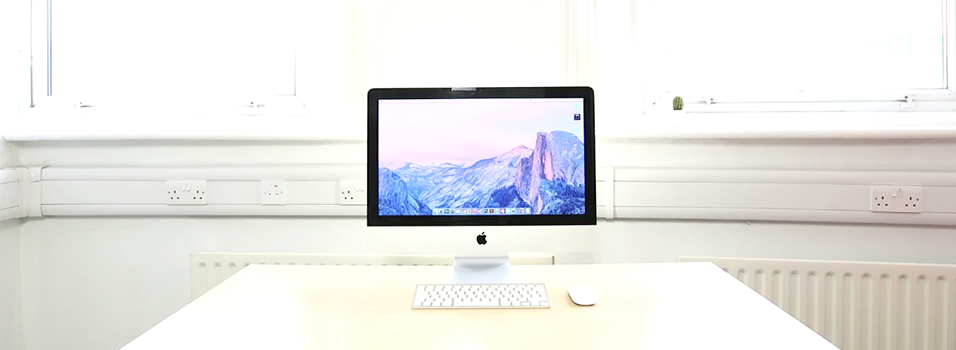
Using the Right Equipment
Where would a radio studio be without a computer? They are the essential hub to manage and mix shows together. Most will do the job as long as they have spare USB ports, a headphone jack, and run relatively quickly.
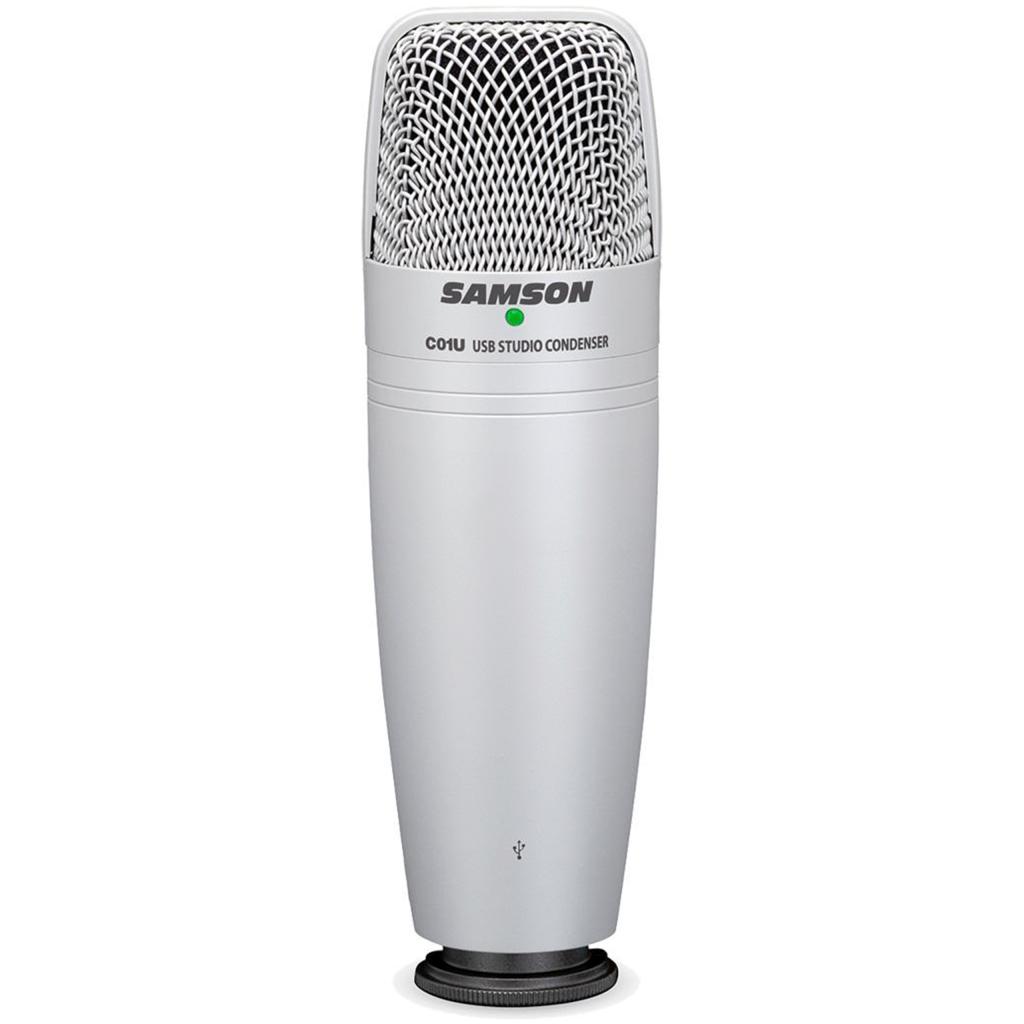
The Samson C01U is a good entry-level microphone for beginners. It’s easy to hook up via USB to get broadcasting or recording in minutes. Audio quality wise it isn’t too bad, as long as you aren’t too quiet or distant during our shows. If you want the simplest possible mic then it doesn’t come much more straightforward than this. Buy it on Amazon US or Amazon UK.
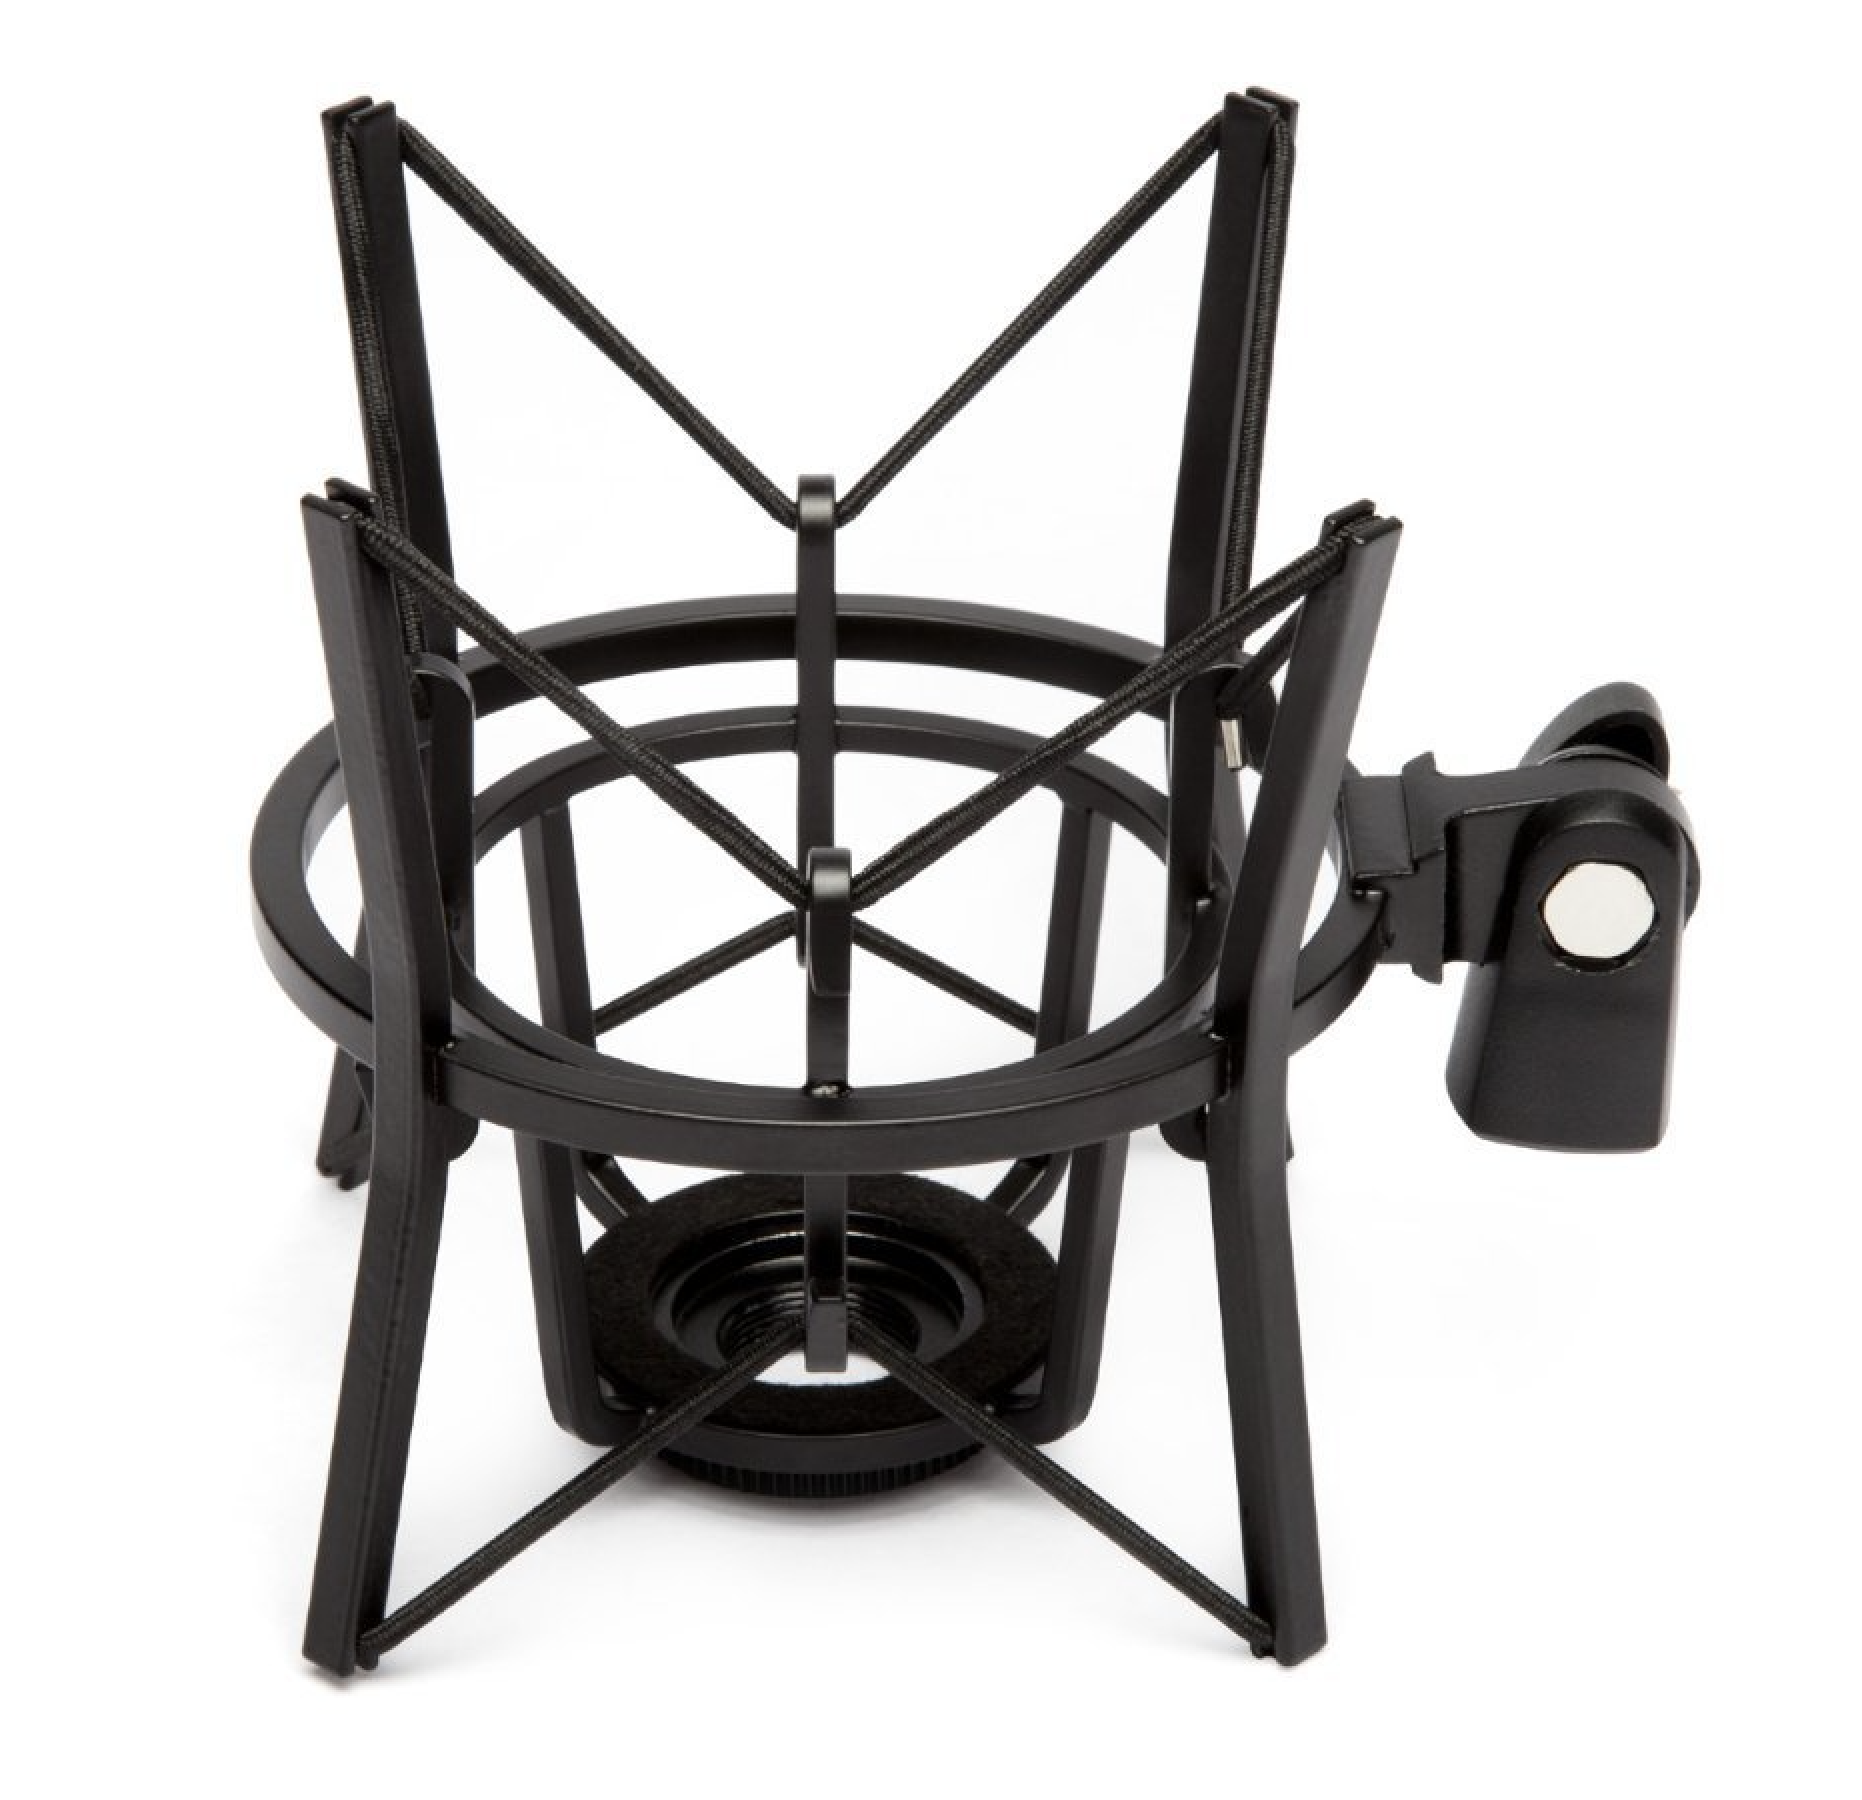
Microphones are really sensitive. For examples vibrations from footsteps can be picked up from just walking around your studio. With a stand and shock mount holding your mic in place, it reduces these types of noises. Buy it on Amazon US or Amazon UK.
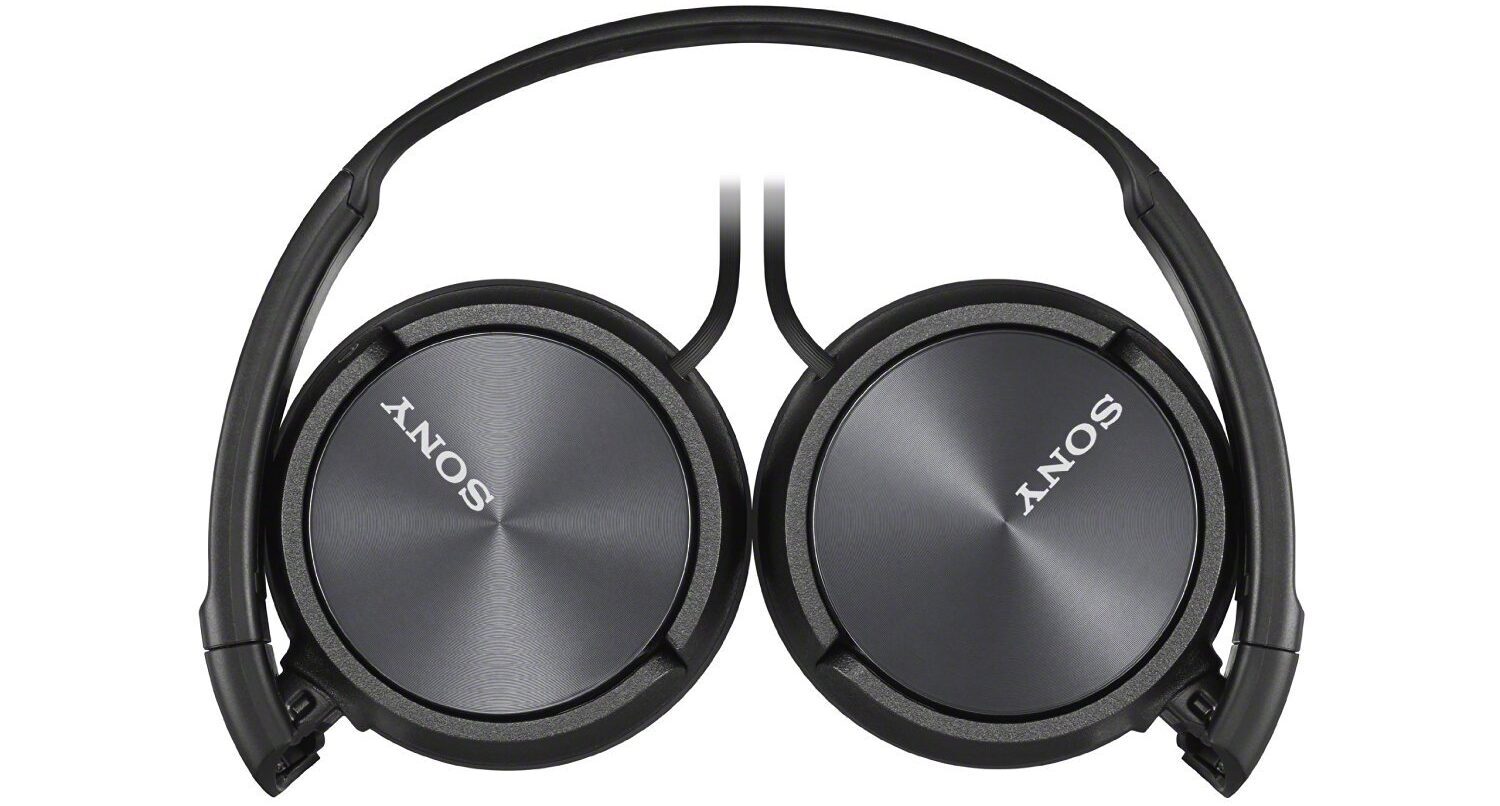
Long periods listening to your shows requires a good pair of comfy headphones. Luckily the affordable Sony MDR-ZX100 is just what you need. Lightweight and foldable, they are your best friend for in and out the studio. Buy it on Amazon US or Amazon UK.
2. Advanced Radio Studio
Radio studios evolve over time. First start off simple and cheap, then add and upgrade as you grow.
Adding Acoustic Panels
Noise has a nasty habit of bouncing off walls. Microphones pick this up quite easily, for example clapping in a big empty room causes an echo. A way to get around this is by using acoustic panels AKA foam tiles.
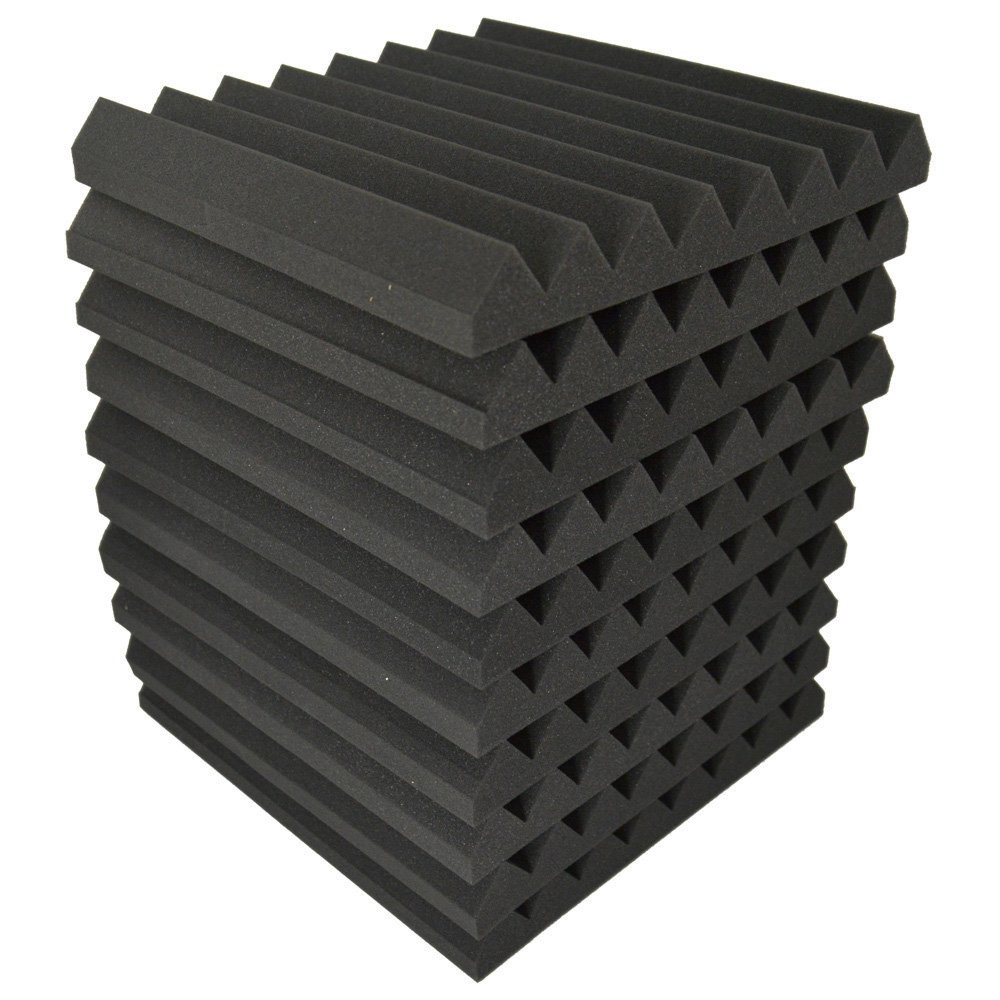
They pad the walls and absorb sound. Having a few of these strategically placed on your walls can dramatically alter your room’s acoustics for the better. Buy a pack on Amazon US or Amazon UK.
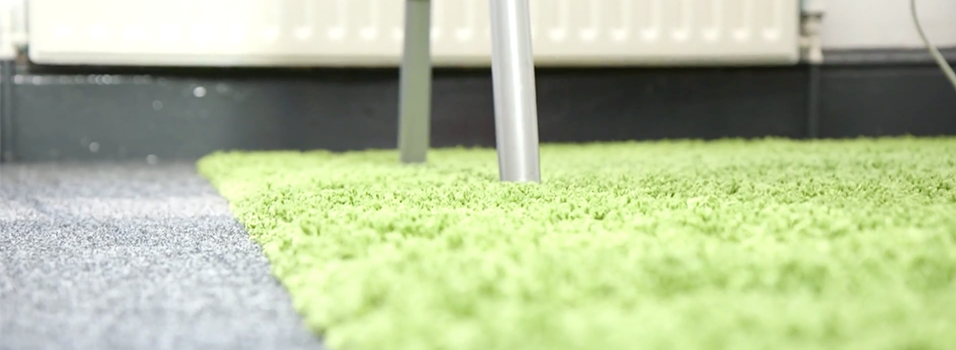
Rolling Out the Red Carpet
Wooden floors are the worst. Creaky and easy to bounce off noise, they are bad news for any radio studio. Try laying down a rug or carpet tiles to absorb sound. Buy a pack on Amazon US or Amazon UK.
Improving Your Equipment
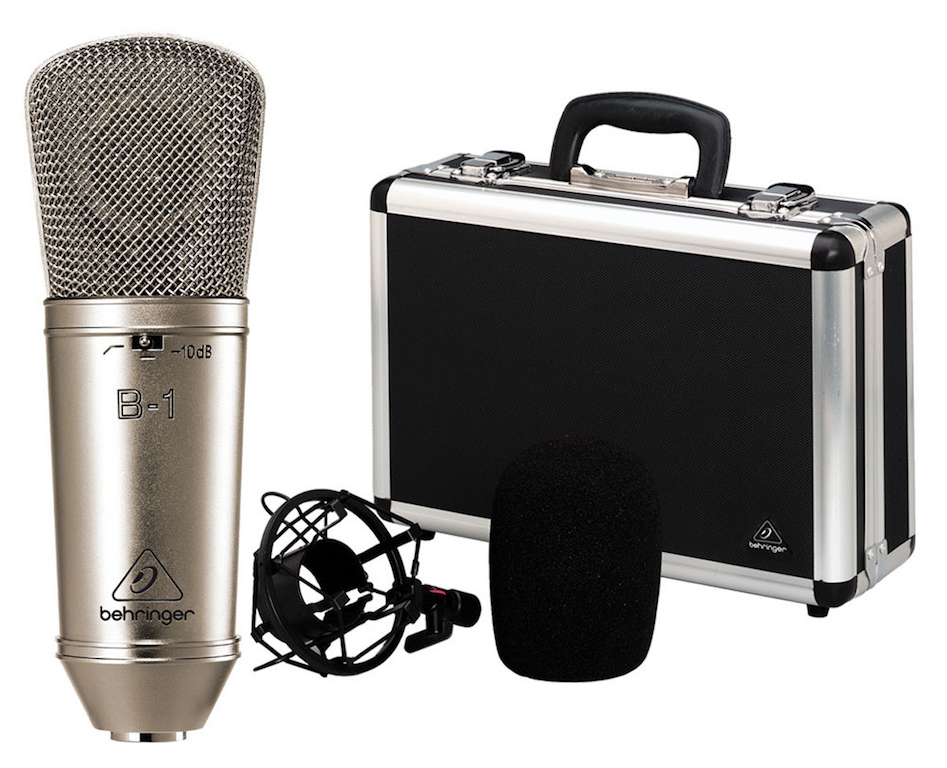
Take your radio broadcasts one step further. Improve and add new equipment like the Behringer B-1. It’s a great mid-range condenser microphone designed for professionals. Audio is captured much more easily due to its large diaphragm, so it’s ideal for multiple people if you a guest or two on board. Buy it on Amazon US or Amazon UK.
Condenser microphones like the B-1 need phantom power to run. Devices like an audio interface power and manage these types of mics. The Focusrite Scarlett 2i2 for example acts as both a preamp and power supply.
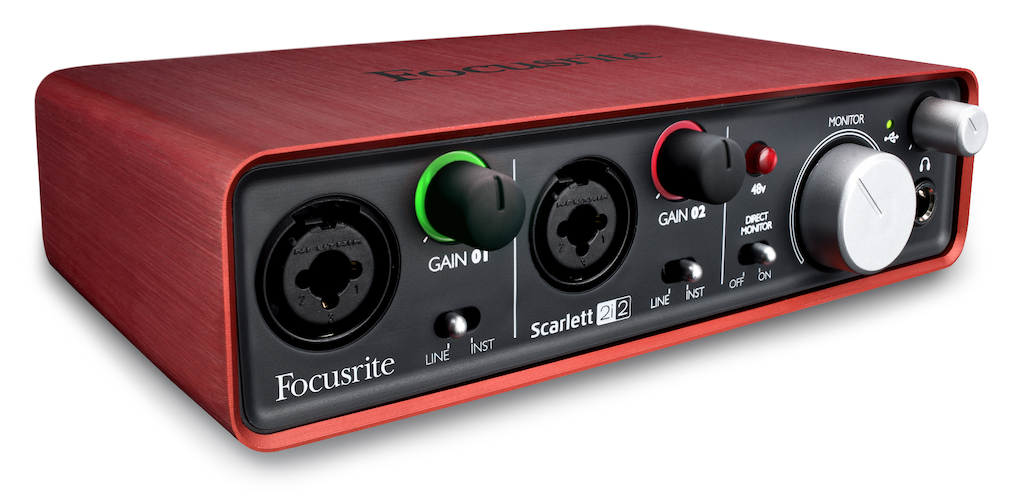
Audio quality through the Focusrite is enhanced. The box has a processor within the unit, so it gives your voice a smooth sound. It comes with two XLR inputs for either you and a guest or a digitally connected instrument like a keyboard. As it’s an audio interface you can monitor and adjust connected devices. Use the gain control to tweak the volume levels during shows to stop issues like peeking. Buy it on Amazon US or Amazon UK.
3. Professional Radio Studio
In order to have the best radio studio, you need the best setup.
Building a Broadcasting Booth
A broadcasting booth is the best place to broadcast and record your radio shows. Padded with foam tiles on the inside, the booth is essentially a sound isolation box. This controlled environment reduces ambient noises from outside, so nothing unwanted gets picked up.
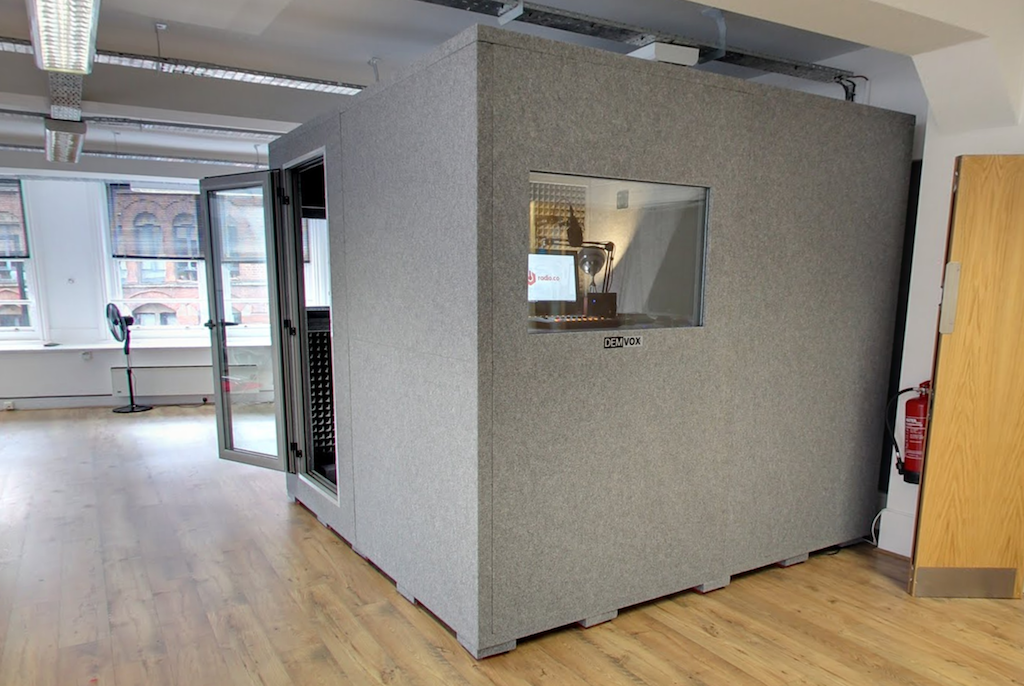
Depending on your room’s size you can build a small one man booth or much larger one. Just be sure to get one that can fit in all your broadcasting equipment.
Choosing the Best Equipment
As you add more equipment to your radio studio you need to manage and sort everything without things getting chaotic. The Behringer DX2000USB is an analogue and digital mixer designed for large setups. It has 7 channels for multiple input devices. 2 are preamp phantom power that works with condenser microphones. The remaining 5 can be used to hook up other devices like CD players and microphone processors.
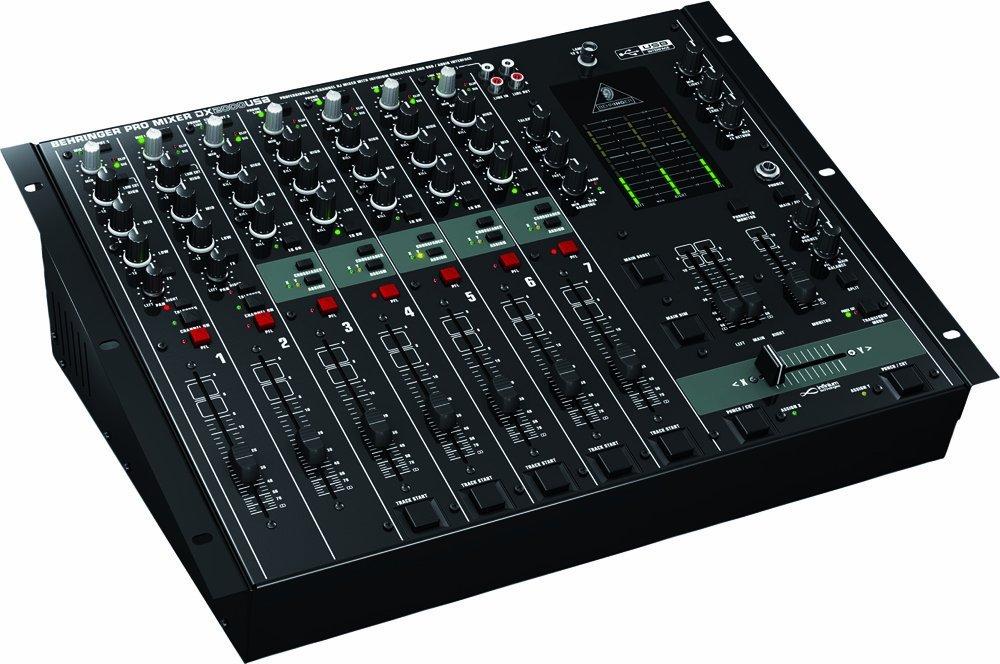
Each channel has faders and dials to control the volume. For example, adjusting the equalisers either amplifies or reduces the quality and character of the sound. Overall the DX2000USB is a good mixer to manage your microphones and other devices from one place. Plus it connects directly to your computer via USB, so it’s really easy to setup. Buy it on Amazon US or Amazon UK.
The Neumann TLM 103 is widely used in commercial radio, but for good reason. Broadcasters like Howard Stern and many local stations here in the UK have several of these microphones for both presenters and guests. Using an XLR connector, you can hook up the TLM 103 with the Behringer DX2000USB mixer. Buy the 103 on Amazon US or 102 on Amazon UK.
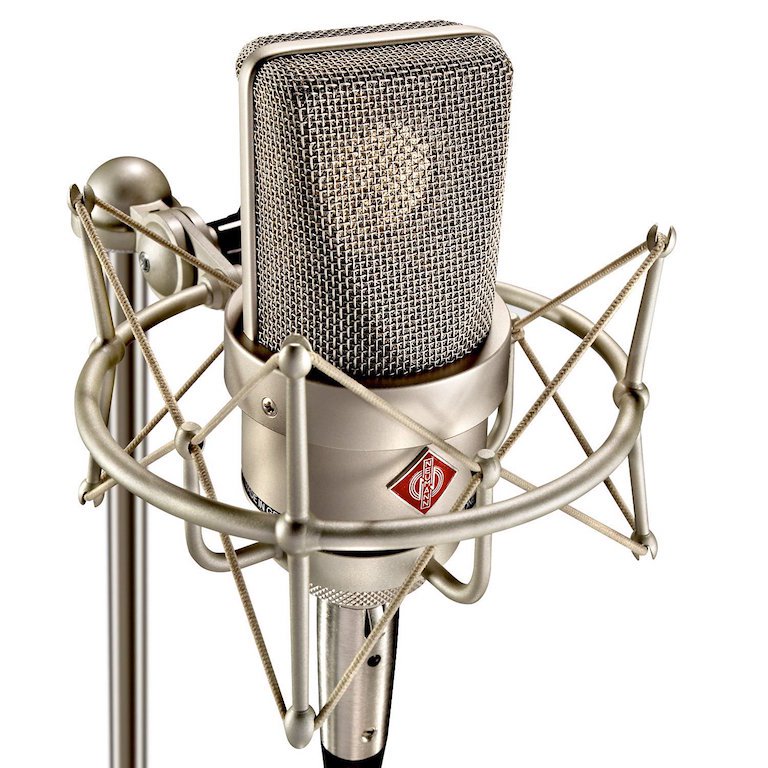
Microphones like this are very sensitive. Nudging the mic or knocking the edge of your desk can easily be picked up. Boom arms and shock mounts like the Rode PSA1 and Samson SP01 keep your microphone in place.
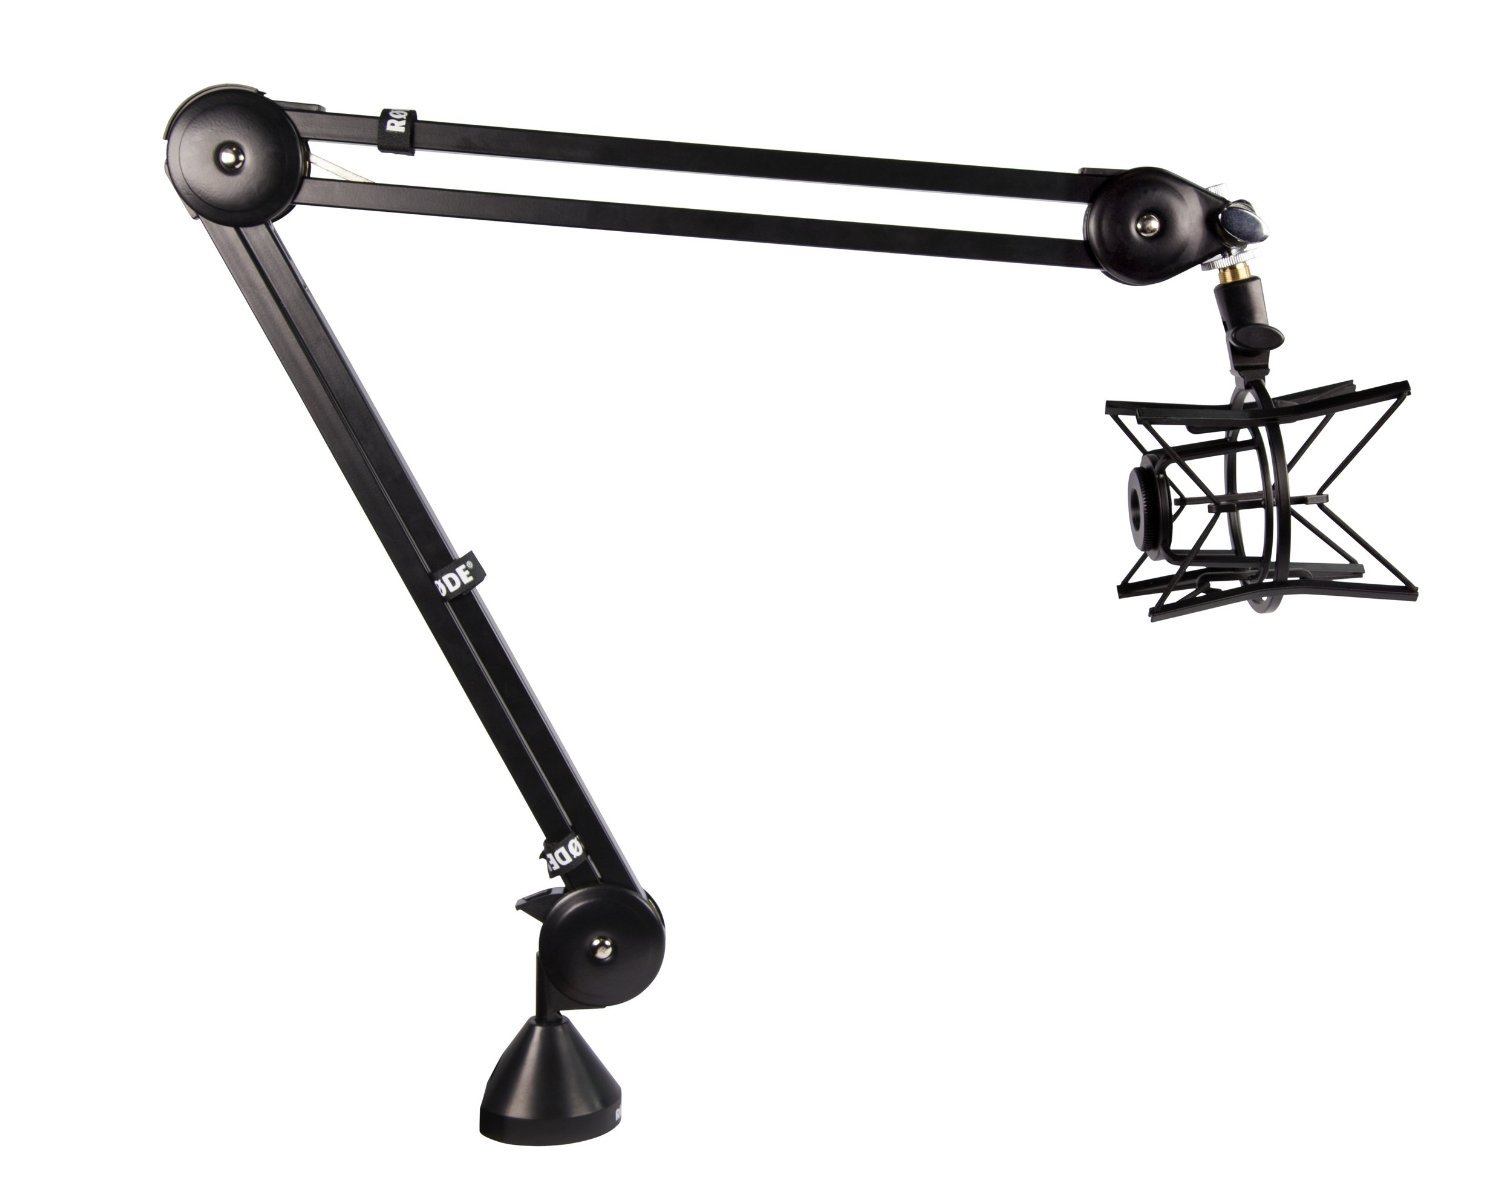
Using the arm, manoeuvre the position of the mic. Adjust its height for standing or sitting positions. When not in use move it out of the way to save space. The shock mount on the end works with the arm to secure the mic in place. It also can be rotated to have the mic facing up, down, or from the side depending on your preference. Buy the Rode PSA1 on Amazon US or Amazon UK.
The DBX 286S microphone processor is a necessary tool to enhance your vocals. It works by cleaning up audio, for example, it removes harsh “S” noises with a de-esser.


Often talking too loudly clips audio, but the processor can limit this and even boost the volume if you’re talking too softly. Essentially it clarifies your voice and gives it that warmer on air presence, something you wouldn’t get using a mixer. Buy the DBX 286S on Amazon US or DBX 266XS on Amazon UK.
Without a good pair of headphones broadcasting shows would be uncomfortable, especially during long periods. The Beyerdynamic DT770 Pro headphones are the de facto industry standard. They are comfy with over the ear padded cups and come with a long cable for freedom of movement.
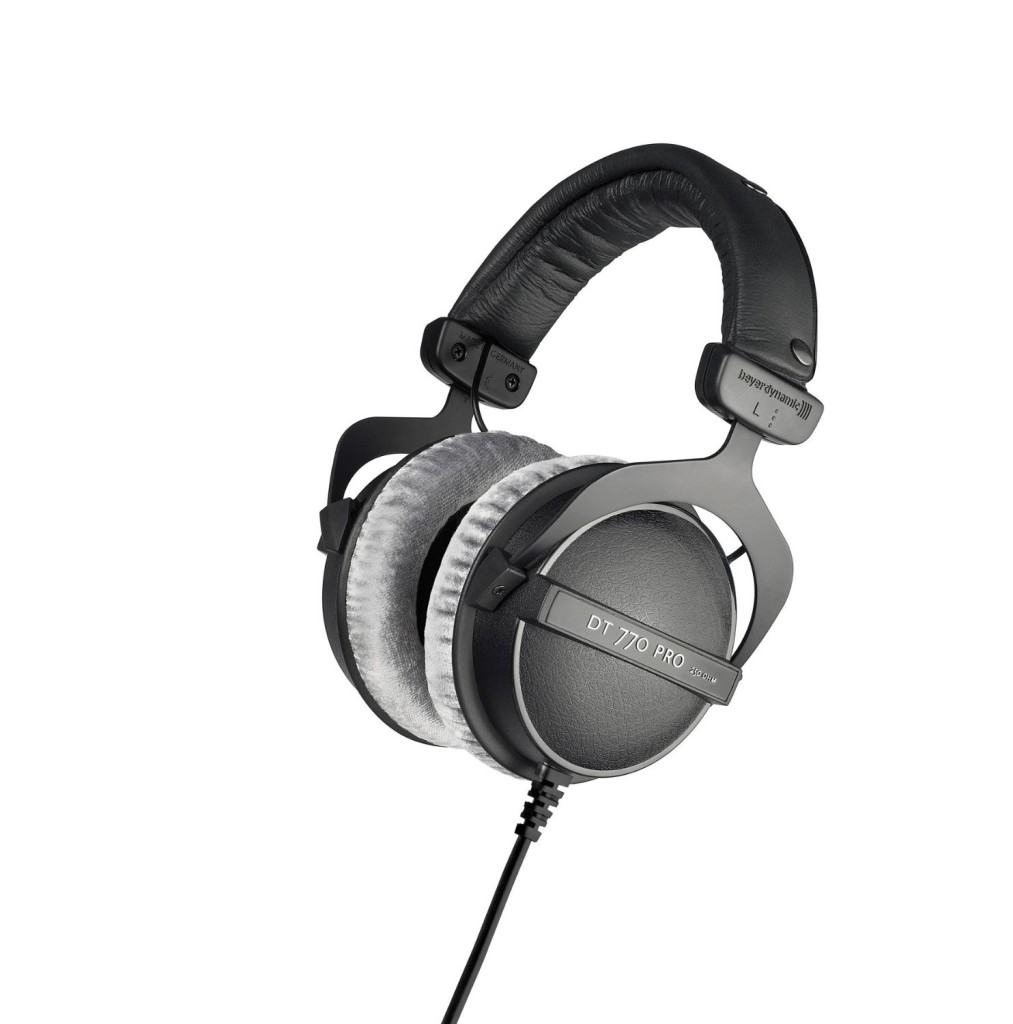
As the cups rest over the ear outside noise is reduced, which makes it a lot easier playing back tracks or focusing on a conversation with a guest. You can sit back wearing the DT770 for hours without noticing, which is why they are essential for every radio studio. Buy it on Amazon US or Amazon UK.
An external sound card is just like an internal one. Devices like the CSL 7.1 surround sound card takes in audio so you can map it to your mixing desk. Buy it on Amazon US or Amazon UK.
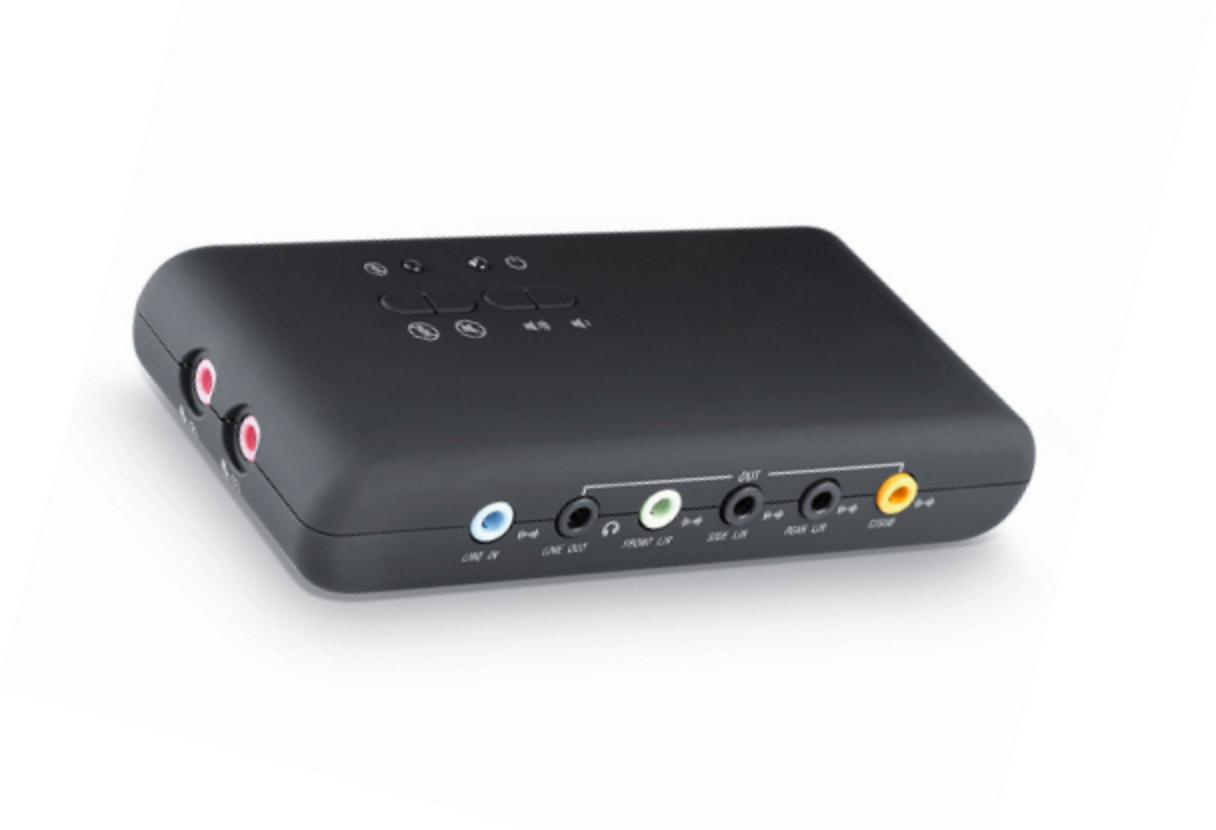
It offers multiple channels so you can connect devices like a sound system, headphones, CD players, and more. Once everything is connected together it should look something like this:
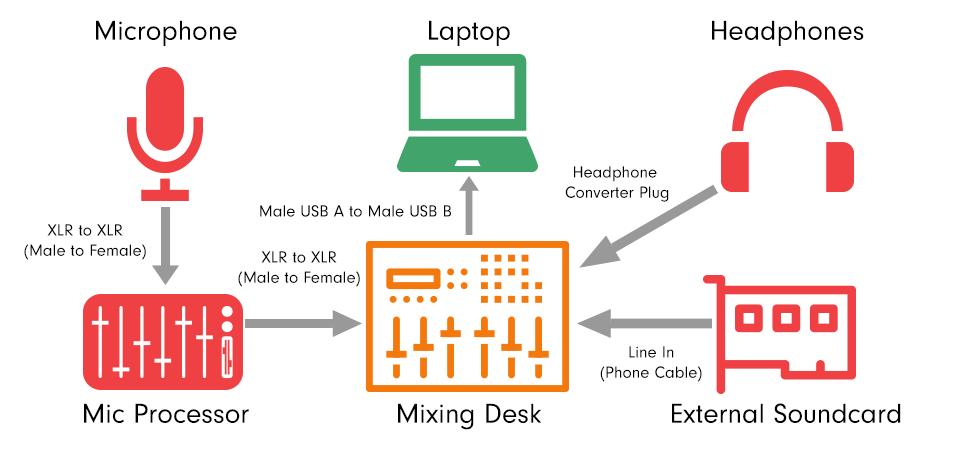
Audio travels from your microphone and through your mic processor where it gets cleaned up and enhanced. Levels and EQ are controlled on your mixing desk. Headphones are plugged into the mixer to monitor channels. Additional devices are added to the sound card. Finally, audio is encoded and broadcast to your Radio.co station.
Setting Up Your Radio Station
Once you have your recording space and equipment setup it’s time to get on-air. With Radio.co you can broadcast live radio shows. Using software like BUTT you can play music, talk to your listeners in real-time, or do a bit of both. Alternatively, if you prefer you can upload tracks and automate shows for times when you’re not around. Here’s an overview of how you can get on-air in 2 minutes.
There are plenty of ways to manage your shows using Radio.co, for example, you curate tracks into playlists, invite friends to calibrate on your station, and modify track intros and outros for smoother segues. There are many more features you can discover by heading over to the Radio.co University.
Listening to Your Broadcasts
Once you have your radio studio and online station setup it’s time to get listeners tuning in. However, a big hurdle broadcasters often face is getting discovered. If people can’t find your station or access your stream then they are not going to stick around for long.
Make it as easy as possible to access. Setup multiple ways listeners can tune into your stream. For example with Radio.co you can make your own custom radio player and add it to your website, just like this:
Alternatively link directly to your stream like this. Then there are mobile apps for iPhone and Android. Listeners can take your station with them wherever they go. Tuning into your shows is just a few taps away. You can build your own custom-branded apps, just head to Radio.co Studio -> Add-ons and start building.
5 Best Radio Directories
As we mentioned one of the biggest challenges radio broadcasters face today is getting noticed. Luckily there are loads of places you can list your station. Submit to online radio directories like TuneIn and Streema that have millions of listeners worldwide. Get listed on the 5 best radio directories and get discovered.
5. TuneIn

Millions of listeners discover new stations on TuneIn every day, so it’s one of the best places to be. Listeners can easily access your shows on the browser or via the TuneIn iPhone and Android app.
Submit your station to TuneIn.
4. Radio Garden

Radio Garden puts a unique twist on getting discovered. An interactive globe showcases radio stations from around the world. Spin, zoom, and find a stream based on your location.
Submit your station to Radio Garden.
3. Dirble

Dirble is an open radio directory which consists of list thousands of online stations. Get discovered by listeners either on desktop or mobile.
Submit your station to Dirble.
2. Steamitter

Streamitter.com is a modern online radio directory. It lists thousands of stations from all around the world and from every type of genre. It’s a mix of amateur and professional radio shows.
Submit your station to Steamitter.
1. Streema
Streema is a free online radio directory to discover, share, and listen to radio stations from anywhere on earth. There are more than 70,000 radio stations like BBC Radio 1, Absolute Radio, and more that anyone can tune into online.
Submit your station to Streema.
Making Money
There’s no really easy way to make money from your radio station. It takes planning, hard work, and commitment. Commercial stations already earning a revenue don’t just rely on a single source of income. There are several different business models, but these primarily fall into 2 types: advertisements and sponsorships.
Advertisement Model
The advertisement model is the most popular as it’s tried and tested. It works by companies paying you for air-time. These are often small sound bites like commercials or jingles wedged in between songs. It’s a simple but effective way to engage with listeners.
This type of model works quite well. Radio stations in the UK like Global and Bauer use advertising on their 40+ stations, all of which primarily earn money from ad revenue.
Stations like Kiss FM often promote big advertising agencies from which they pull in large amounts of cash. How much cash they make and what’s played depends on the average listener. Companies choosing to broadcast with you look at 3 things:
- Number of Listeners
- Age Range
- Average Listener
Companies advertising with your station need to know who they are talking too before they can start talking money. Most of the time one-on-one deals are made based on your audience.
Sponsorship Model
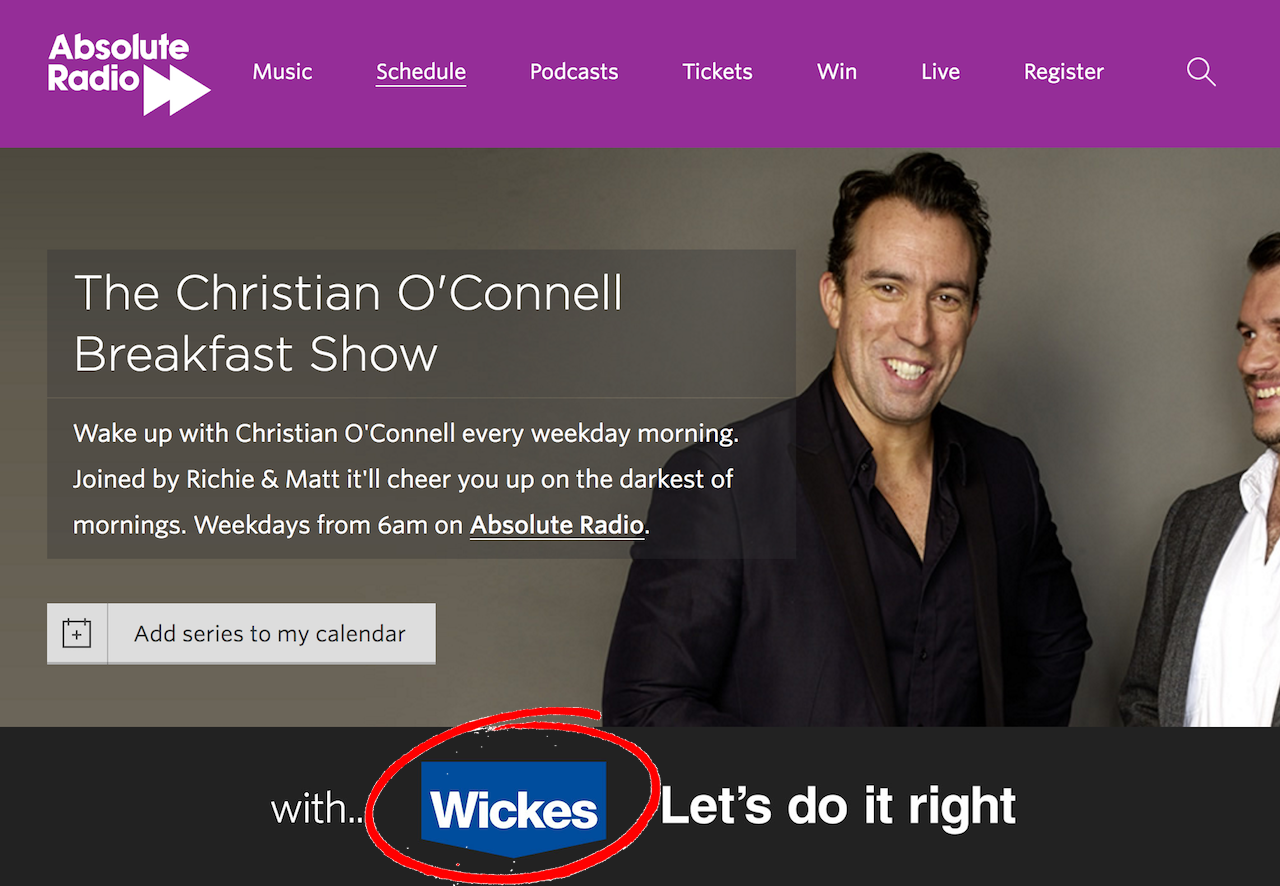
A sponsorship model is a subtle form of advertising. Companies pay to sponsor shows that fit their target demographic. It works by the show’s presenter(s) mention the sponsor or sponsor’s product. Usually, endorsements like this are tacked on at the beginning and end of shows.
Absolute Radio, for example, uses the sponsorship model. Presenters name drop the sponsors, which in this case is Wickes, and also advertise it on their website.
Why companies choose stations to sponsor relates back to the advertisement model. It depends on the average listener and the total number of listeners.
Now, these are just a few ways you can make money, but there are a whole lot more. There’s affiliate programmes, donations, merchandise, ad sales, events, and syndication. For a full list of the different ways online radio stations make money then head here.
If you haven’t taken the plunge into starting your own station then we can help. It takes less than 10 minutes to get setup and broadcasting online. But if you have questions about equipment or software then talk to us. Book a demo to chat with a sales expert today here.
Alternatively, start your station today. Activate your 7-day free trial by clicking the button below.

